
Service / GARAGE FLOOR COATING

Garage Floor Epoxy Coating.

100% solids epoxy with color-flake broadcast and polyaspartic urethane topcoat for residential garages across Montgomery County. Diamond-ground, moisture-tested, and finished to commercial spec.

Two-car residential garage with freshly applied gray epoxy and color-flake floor coating, paver apron visible at the door threshold, garage door open and white concrete-block walls visible
FILE / 2026 Garage Floor Epoxy Coating

The work

How garage floor epoxy coating actually goes on a JL job.

/01

The difference between a garage floor coating that holds up for a decade and one that delaminates inside the first year is concrete preparation. Acid etching — the standard method in big-box-store epoxy kits — produces a concrete surface profile of roughly CSP 1, which is marginally adequate on freshly-poured rough-finish slabs and inadequate on troweled, sealed, or older concrete that makes up the majority of Montgomery County garages. JL Drywall and Painting prepares every garage slab with mechanical diamond grinding to a CSP 3–4 profile, which creates a mechanical key the epoxy can bond into rather than relying solely on chemical adhesion. The grinder is followed by HEPA-filtered vacuum extraction — any residual dust left on the prepped slab will block the primer bond.

/02

Moisture is the second hidden failure mode and the one most homeowners do not realize they have until a year after their first coating failed. Concrete slabs that feel dry to the touch can still have substantial moisture vapor transmission from the soil below the slab, especially in homes built before 1985 where a proper vapor barrier was either omitted or installed inadequately. Common Montgomery County housing patterns where this matters: 1960s–1970s East Norriton split-levels with poured-in-place direct-bearing slabs, 1980s King of Prussia townhomes with monolithic pour foundations, and any home with a garage on a graded fill slope where soil moisture migrates uphill toward the slab. JL performs a calcium chloride moisture test (ASTM F1869) or, on tighter timelines, an in-situ relative humidity probe (ASTM F2170) before specifying the coating system. If moisture vapor transmission exceeds the manufacturer's spec for the chosen epoxy, a moisture-mitigating primer goes down first — typically a 100% solids epoxy moisture barrier from a manufacturer like Koster or Sika.

/03

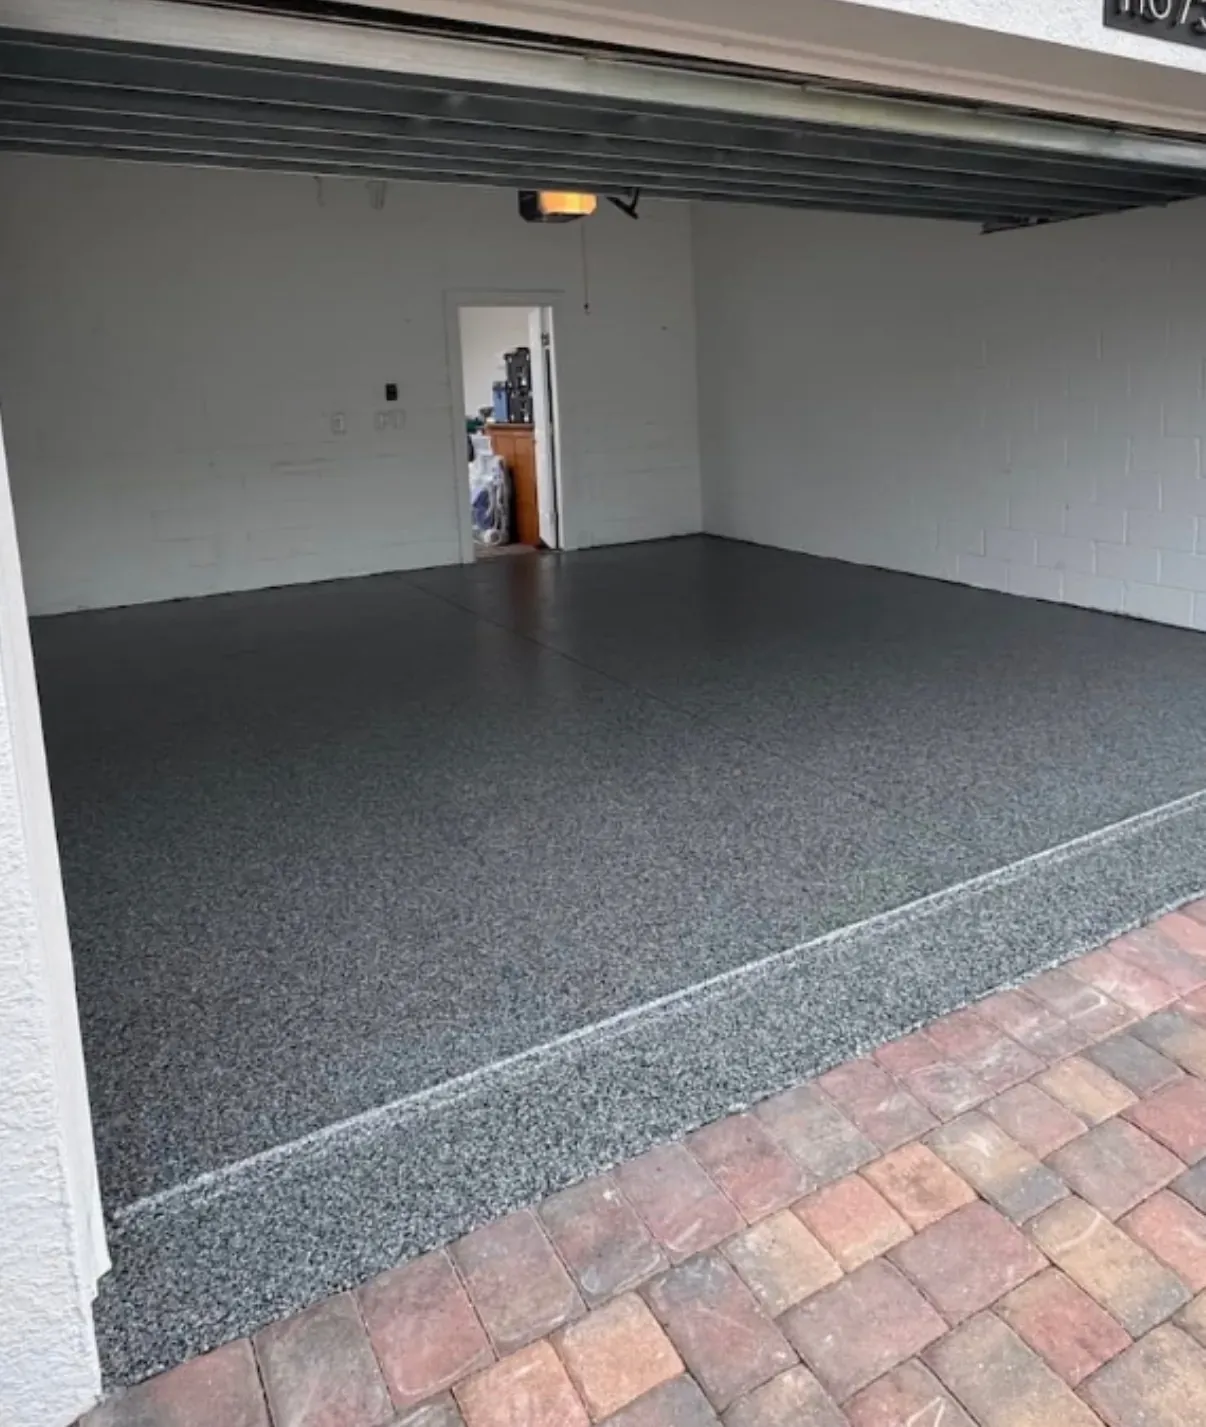
Coating system selection follows substrate prep and moisture results. The residential gold standard is a three-coat system: a 100% solids epoxy prime coat (Sherwin-Williams ArmorSeal 1K HS or Rust-Oleum Industrial Choice 9100), broadcast vinyl color-flake (Torginol or Decoflake, 1/4 to 1 lb per square foot depending on coverage), and a clear polyaspartic urethane topcoat (Polaris ProTec or equivalent). The polyaspartic topcoat is the most important component for UV stability and abrasion resistance — pure epoxy yellows under any UV exposure and is significantly softer than polyaspartic. For homeowners with budget constraints or aesthetic preferences, a single-coat polyaspartic system (no flake, no primer for some products) is available but costs more per square foot than the three-coat epoxy-and-topcoat system despite using less material.

/04

Failure modes worth knowing: hot tire pickup happens when a cheap acrylic or single-part epoxy coating softens under tire heat and lifts when the tire cools — JL does not install single-part or acrylic coatings for this reason. Peeling at slab edges happens when the grinder does not chase the prep back into the edge sweep around the perimeter — JL's edge-grinding protocol uses a hand grinder to take the prep into corners and along the slab edge before the field is ground. Yellowing under UV happens when the topcoat is standard aliphatic epoxy rather than polyaspartic — JL specifies polyaspartic topcoat as standard. Efflorescence push-through happens when uncontrolled moisture vapor transmission pushes mineral salts up through the coating from the slab below — solved by moisture testing before specification and using a moisture-mitigating primer when readings warrant it.

/05

Typical residential installation for a two-car garage at approximately 400 square feet is a two-day install with proper prep, or three days with full moisture mitigation. Day one: cover and protect any items the homeowner cannot remove, grind the slab to spec, vacuum, perform any joint or crack repair with a polyurea or epoxy crack filler, and perform moisture testing. Day two: prime coat down by 8 AM, color-flake broadcast into the wet primer, evening polyaspartic topcoat after the primer has set. Floor walkable the next morning, light vehicle traffic at 24 hours, full load (parking long-term) at 72 hours. The same system applies to basement floors, workshop floors, and any concrete slab in conditioned or semi-conditioned space where a hard wearing finish is required.

Close detail of a freshly coated garage floor — gray base with multi-color vinyl flake broadcast, clear polyaspartic topcoat catching the natural light, paver threshold meeting the slab edge
Garage Floor Epoxy Coating · process detail

Frequently asked

About garage floor epoxy coating.

/01 Why do most DIY garage floor coatings fail?

Three reasons, usually compounding. First, inadequate concrete preparation: most DIY kits rely on acid etching, which produces only a CSP 1 profile and fails on any slab that has been previously sealed, troweled smooth, or older than about ten years. Diamond grinding to CSP 3–4 is the professional standard and is the single biggest predictor of coating longevity. Second, no moisture testing: a slab that looks dry can still have elevated moisture vapor transmission that pushes the coating off from below within months. Third, single-part or acrylic coatings instead of two-part 100% solids epoxy with a proper topcoat — single-part coatings are softer, less chemical-resistant, and prone to hot tire pickup. The price difference between a DIY kit and a proper install is real, but so is the difference between a coating that lasts one year and one that lasts ten.

/02 What is the difference between acid etching and diamond grinding for prep?

Concrete surface profile (CSP) is measured by ICRI standards from 1 (lightly etched, almost smooth) to 10 (heavy chip texture). Acid etching with muriatic or phosphoric acid raises the surface profile to about CSP 1 — adequate for some primer systems on fresh, rough-finish concrete, inadequate for most others. Diamond grinding with a planetary grinder using metal-bonded or PCD diamond discs raises the profile to CSP 3–4 — the standard for 100% solids epoxy and polyaspartic systems. The difference in bond strength between CSP 1 and CSP 3 is roughly an order of magnitude in pull-off testing. For older garages with sealed or troweled-smooth concrete, diamond grinding is the only prep that produces a long-lasting coating; acid etching simply does not generate enough mechanical key on a hard surface to hold the coating long-term.

/03 Will the coating yellow over time?

Standard aliphatic epoxy yellows under any UV exposure — even ambient light through an open garage door over years will produce a noticeable yellow shift on a coating that is pure epoxy. JL specifies a clear polyaspartic urethane topcoat as standard, which is UV-stable and will not yellow under normal residential garage conditions. The polyaspartic also provides significantly better abrasion resistance than epoxy alone — a meaningful difference in garages used for woodworking, automotive maintenance, or any activity that drags tools and equipment across the floor. The cost difference between epoxy-only and epoxy-plus-polyaspartic is small relative to the longevity difference.

/04 Can you coat over an existing epoxy floor that has started failing?

Sometimes, with limitations. If less than 10–15% of the existing coating is delaminating, those areas can be ground out, the substrate re-prepped, primed, and feathered into the existing intact coating before a full topcoat goes over everything. If the failure is more extensive — typically the case when moisture was uncontrolled or when prep was wrong from the start — the correct scope is a full removal of the existing coating with a planetary grinder before re-coating. JL evaluates this on-site. A failing coating sometimes indicates a slab-level moisture problem that the homeowner did not know existed; recoating over a moisture failure without addressing the source guarantees the new coating will fail the same way.

/05 How long until I can drive on a newly coated garage floor?

Standard schedule: walkable in socks 8 hours after the topcoat, light foot traffic at 24 hours, light vehicle traffic at 24 hours, full vehicle weight and long-term parking at 72 hours. Polyaspartic topcoats cure faster than epoxy and the 72-hour mark is conservative — most installations are fully cured well before then. JL provides a written cure schedule with each install and recommends scheduling installs over weekends or scheduled time away from the garage so the homeowner is not forced to park on a not-fully-cured floor. Crack repair compound (polyurea or epoxy) has its own cure schedule and may govern when the floor is fully usable if extensive crack repair was part of the prep.

Ready to book garage floor epoxy coating?

Walk it with Jose. (484) 435-5154